US Passport Fees
Obtaining a US passport is an essential step for those planning to travel abroad. However, it's important to be aware of the associated fees to ensure a smooth application process. In this blog post, we will provide a comprehensive guide to US passport fees, including the different types of passports, application fees, expedited services, and additional costs.
Types of Passports:
The US Department of State offers two types of passports: the standard passport book and the passport card. The passport book is widely accepted for international travel, while the passport card is limited to land and sea travel between the United States and certain countries. The fees for these passports vary as follows:
1. Standard Passport Book:
- For applicants aged 16 and over, the application fee is $130.
- For applicants under the age of 16, the application fee is $100.
- Additionally, an execution fee of $35 is required for all applicants, regardless of age.
2. Passport Card:
- For applicants aged 16 and over, the application fee is $35.
- For applicants under the age of 16, the application fee is $15.
- The execution fee for passport cards is $35, similar to the standard passport book.
Expedited Services:
In certain situations, individuals may require expedited processing of their passport application. The Department of State offers expedited services for an additional fee of $60 per application. This service ensures that the passport is processed and delivered within 4-6 weeks, instead of the standard 10-12 weeks. $19.53 for 1-2 day delivery. It is important to note that expedited services are only available for passport book applications and not for passport card applications.
Additional Costs:
There are a few additional costs to consider when applying for a US passport:
1. Passport Photos:
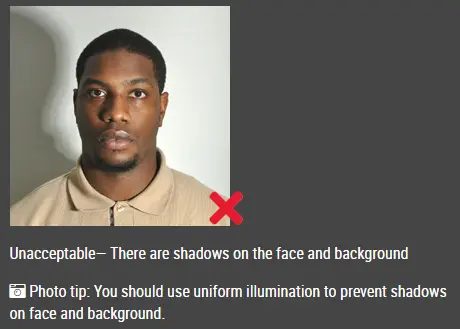
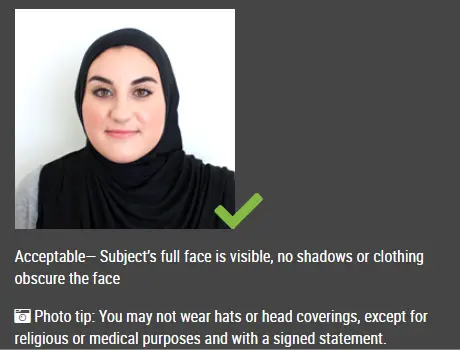
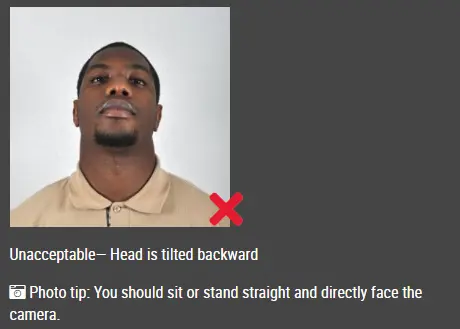
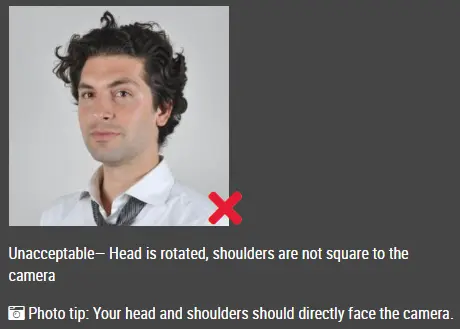
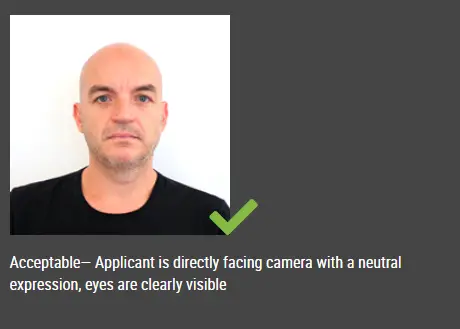
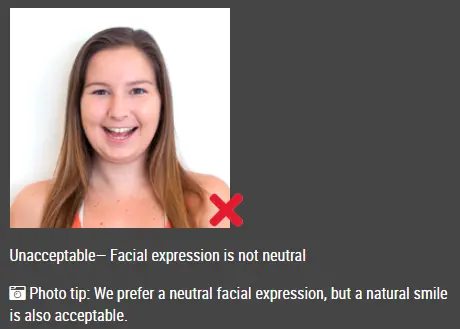
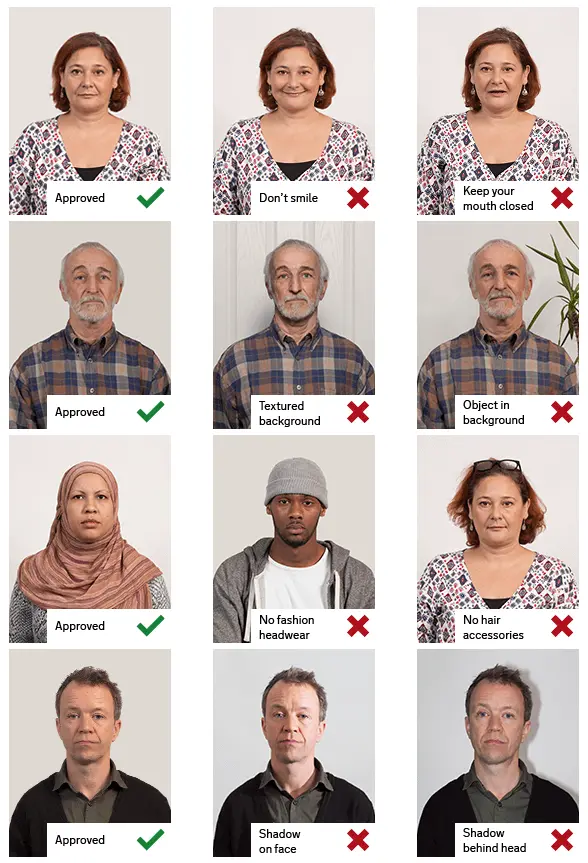
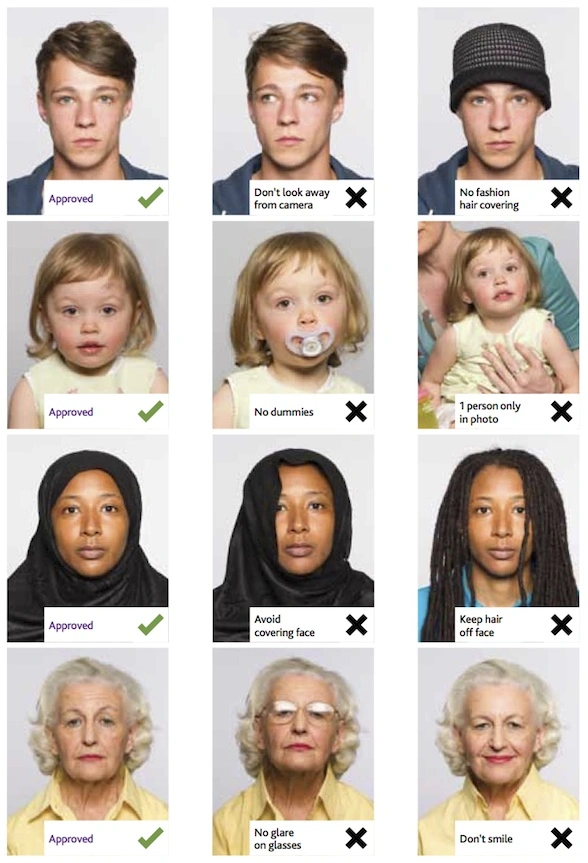
- A passport-sized photo is required with each application.
- The cost for passport photos can cost you up to $30, depending on the location. If you use our online passport photo editing service https://www.idphotodiy.com/, it will cost you only $8.95!
2. Optional Services:
- Some applicants may require additional services, such as a name change or a second passport.
- These services come with additional fees, ranging from $0 to $170, depending on the specific service requested.
Payment Methods:
If you apply by mail from the USA or from Canada , you may pay for the application and special services such as expediting your application:
-
in the form of a personal or certified check, a cashier's check, a traveler's check, or a money order made payable to "U.S. Department of State."
-
Credit and debit cards are not accepted.
-
Cash payment is not accepted.
If you apply at a passport agency, you can pay with:
-
Money orders at all locations, payable as instructed by the facility
-
Personal checks and cash (exact change only) at some locations
-
Credit cards at U.S. postal facilities and some other locations. The facility may add a surcharge to cover the cost of a credit card transaction.
Conclusion:
Obtaining a passport is an important step for anyone planning to travel internationally. Understanding the different types of passport fees is crucial in order to budget accordingly and avoid any surprises during the application process. By familiarizing yourself with the application fees, execution fees, expedited service fees, passport card fees, and additional service fees, you can ensure a smooth and hassle-free passport application experience. Remember to check the U.S. Department of State's website for the most accurate and up-to-date information on passport fees and requirements.
Click here to make passport / visa photos

